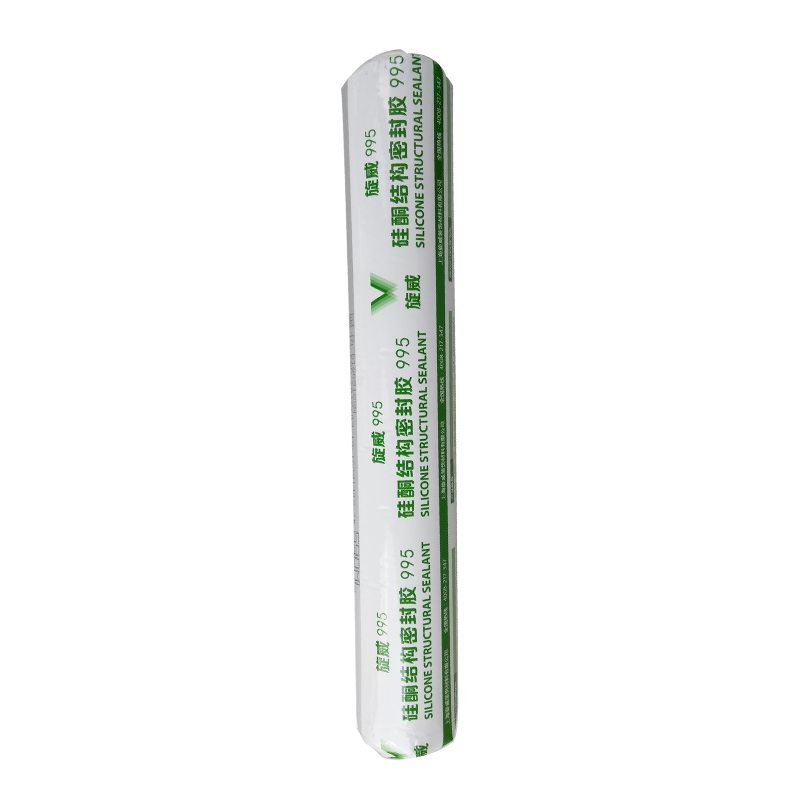
18 Years Factory SV-995 Neutral Silicone Sealant to Mali Manufacturers

Short Description:
Description SV – 995 neutral silicone sealant structure is a kind of one-component, construction curtain wall structure of room temperature curing glue, can be used in all kinds of curtain wall joints and waterproof seal, also can be used for all kinds of aluminum alloy, glass doors and Windows seal assembly Where to use 1.Curtain wall joints and waterproof seal 2.Aluminum alloy, glass doors and Windows seal assembly Key Features 1. 100% silicone 2. Easy to use 3. Waterproofing and...
Always customer-oriented, and it's our ultimate target to be not only the most reliable, trustable and honest supplier, but also the partner for our customers for 18 Years Factory SV-995 Neutral Silicone Sealant to Mali Manufacturers, We believe that a passionate, innovative and well-trained team will be able to establish good and mutually beneficial business relationships with you soon. Please feel free to contact us for more details.
Description
SV – 995 neutral silicone sealant structure is a kind of one-component, construction curtain wall structure of room temperature curing glue, can be used in all kinds of curtain wall joints and waterproof seal, also can be used for all kinds of aluminum alloy, glass doors and Windows seal assembly
Where to use
1.Curtain wall joints and waterproof seal
2.Aluminum alloy, glass doors and Windows seal assembly
Key Features
1. 100% silicone
2. Easy to use
3. Waterproofing and weatherproofing
4. Fast curing speed, high strength
5. 12.5% movement capability
Technical data sheet
| Test standard | Test project | Unit | value |
| Before curing——25℃,50%R.H. | |||
| GB13477 | Flow, sagging or vertical flow | mm | 0 |
| GB13477 | surface drying time(25℃,50%R.H.) | min | 30 |
|
GB13477 |
Operating time | min | 20 |
| Curing time(25℃,50%R.H.) | Day | 7-14 | |
| Sealant curing speed and operating time will have different with different temperatures and temperature, high temperature and high humidity can make sealant curing speed faster, rather low temperature and low humidity are slower.21 days after curing——25℃,50%R.H. | |||
| GB13477 | Durometer Hardness | Shore A | 40 |
| GB13477 | The ultimate tensile strength | Mpa | 0.8 |
| GB13477 | Movement capability | % | 12.5 |
Color
Black,White,Gray
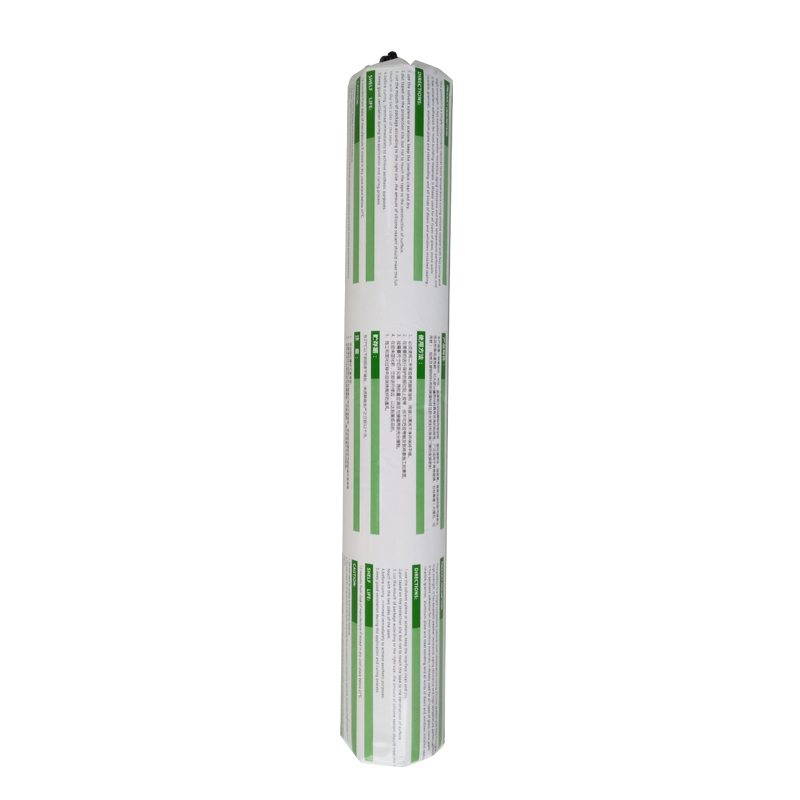
Package
300ml in cartridge * 24 per box, 590ml in sausage *20 per box
Shelf life
12 months
Note
If you want the TDS or MSDS or other details, please contact with our sales person.
Gel Printing 101 & Cardmaking Workshop! WOW 6 Cards!
Sponsored by Art Neko https://www.artneko.com/ *Save 10% off your next order of any size or get free shipping on orders over $50 (whichever discount is greater you get!) just by mentioning thefrugalcrafter! *Visit my blog and enter to win the rubber stamps I used from ArtNeko!
Enter the giveaway here: https://thefrugalcrafter.wordpress.com/2017/05/28/gel-printing-workshop-stamp-giveaway/
Supplies:
Stamp sets (artneko.com) Dragonfly Moon: https://www.artneko.com/displayItem/A214-FSHT
Steampunk Dragonfly & Gears: https://www.artneko.com/displayItem/A406-FSHT
Shells: https://www.artneko.com/displayItem/P041-FSHT
Gelli Arts (TM) Plate and Strathmore Printmaking Cards Value Pack: https://amzn.to/2rtgXce
*Individual Gel printing plates: https://amzn.to/2r7TI4A
*Individual 5″x7″ card packs (these are thinner but still fun to use!) https://amzn.to/2rsTLuX
Acrylic Craft Paint: https://amzn.to/2qqvrFQ
Silicone Tipped Tools: https://amzn.to/2qquhtP
Stencils: https://shrsl.com/?i6cs
**Embossing folders $2 at Consumer Crafts Through 5/30/17 https://shrsl.com/?i4vq *Big thanks to Consumer Crafts for extending the sale because my video was late! I didn’t want you guys to miss out:)
Soft Rubber Brayer: https://amzn.to/2rt0ULs
Foam Stamps
Craft foam (funfoam) https://amzn.to/2qqxYQ7
Deco scissors (To make scraper tools with fun foam) https://amzn.to/2qqRNGZ
Embossing paste: https://amzn.to/2rsSsfp or latex caulking https://amzn.to/2r07OGD
Metal Wave Stencil: https://amzn.to/2qqCVJ0
ATG adhesive https://amzn.to/2r81205
Hot Glue gun and sticks https://amzn.to/2r7TIBL
NIJI pearl watercolor set https://shrsl.com/?i6cu or https://amzn.to/2s2zlpI
Mizuhiki Cord: https://amzn.to/2s20Bo3
Brads https://amzn.to/2s2zqtw
Gelatos https://amzn.to/2s2ocoI or GEl sticks https://amzn.to/2qqtyZK
Versamark https://amzn.to/2r8bfd4
Pearl ex https://amzn.to/2rac4Eh
*OR Perfect Pears and this comes with a mini versamark pad https://amzn.to/2qqNFqz
Ranger Archival Black https://amzn.to/2s29m1z
Hairspray or fixative https://amzn.to/2rafFlC
Copper tape (stained glass supply) https://amzn.to/2qqP6W7
Please note that you do not need all of these supplies, they are just the things I used:)
Directions:
1. Place your Gel printing pate on a peice of paper, this will keep your table clean. Squairt a couple dabs of acrylic paint on the pate and spread out with a brayer.
2. There are many ways to make an impression on the plate: You can press a stencil on the plate, you can press an embossed peice pf paper on the plate, you can use found objects like mesh bags, leaves or string to make a cool impression too. I like to pull one print with the objects still on the plate and another after you have removed the stencil. You can also draw on the plate with foam and silicon tools. Just be sure not to use sharp objects as they can scratch the plate.
3. Press paper on the plate, rub the back of the paper to ensure the paper completely contacts the plate and remove and set aside to dry.
You can layer as many prints as you like for intersting effects!
4. When you are done be sure to clean your gelli plate, brayer and other tools with soapy water and let dry before storing. I recommend you save the packaging that comes with your Gelli Arts (TM) printing plate for storage.
Embellish your printed cards as desired!
Gel Printing 101 & Cardmaking Workshop! WOW 6 Cards!
Check out my NEW Essential Watercolor Course: https://lindsayweirich.teachable.com/p/essential-tools-and-techniques-for-watercolor-painting
Enroll in my Craftsy Mixed Media Class: https://craftsy.me/2nEBtnq
Credits:
Video production and Craft ideas: Lindsay Weirich
Music: Kevin MacLeod (incompetech.com)
Licensed under Creative Commons: By Attribution 3.0
https://creativecommons.org/licenses/by/3.0/
Sign Up For The Frugal Crafter News! https://tinyletter.com/thefrugalcrafter
For Sponsorships or Product Reviews: https://famebit.com/u/thefrugalcrafterLindsayWeirich
SUBSCRIBE! https://www.youtube.com/user/thefrugalcrafter?sub_confirmation=1
Follow along and have fun!
Thefrugalcrafter Community on Facebook: https://www.facebook.com/thefrugalcrafter Join in the fun!
Visit my blog: https://thefrugalcrafter.wordpress.com
Follow me on Pinterest: https://pinterest.com/frugalcrafter/boards/
Twitter: https://twitter.com/lindsayweirich
Instagram: https://instagram.com/lindsayweirich
Subscribe: https://www.youtube.com/user/thefrugalcrafter?sub_confirmation=1
We are dedicated to showing you both the good and the bad times throughout this renovation. Today’s video is no exception. Resealing the RV exterior was a monster project! From start to finish, this project was challenging both mentally and physically.
One reason why it was so difficult is we needed to completely remove and clean off the old silicone sealant before we replaced it with a much more impressive and durable product. The old silicone was crumbly and brittle and came off one speck at a time. When you have to remove every inch of silicone from around each door, window, light, and every nook and cranny of the rig, it’s a test of perseverance and patience. 28 feet never seemed so big!
The new product we chose to replace the silicone is called OSI Quad*. It’s a multi-purpose SOLVENT BASED caulking that has excellent flexibility and weather resistant properties. We highly recommend because it is very easy to find and is relatively inexpensive (approx. $6 a tube at your local home improvement store). If you are looking for a more clean look to your rig, definitely go with the CLEAR color! The white was very hard to work with and may look better on an all white RV.
*Make sure that you use this type of caulking on the EXTERIOR ONLY. This product does have some strong fumes until it fully cured and should only be used in a well ventilated area.
We’ve also had a few people asking about the natural bug spray (non-toxic) that we used for both ourselves and the dogs. Here it is…
1/2 cup distilled water
1/2 cup apple cider vinegar
50 drops of essential oil – We used a combination of tea tree, lemongrass, and rosemary (You can also use lavender, peppermint, or citronella).
If you’d like to support this channel for FREE by doing your normal, everyday shopping, just click on this Amazon link and shop away! ![]() https://www.amazon.com/?tag=duetju20-20
https://www.amazon.com/?tag=duetju20-20
We need your help! This is crucial to the success of our channel. Please SUBSCRIBE, LIKE, COMMENT, and SHARE our videos!
Here are three reasons why your subscription matters…
You get up to date notifications for every new video we release!
It helps others like you find our content more quickly and easily!
You support us as we continue providing consistent, quality content to the world ![]()
Thanks for the love and support!
- Michael and Jenny Justus
Have you ever wondered what it takes to live full-time in an RV? Follow our journey on social media as we search for what it really means to live…
➞ Facebook https://www.facebook.com/duetjustus
➞ Instagram https://www.instagram.com/duetjustus/
➞ Twitter https://twitter.com/duetjustus
➞ Pinterest https://www.pinterest.com/duetjustus/
—————————————————————————————————————-
—————————————————————————————————————-
CAMERA GEAR:
Canon 70d (body only) → https://amzn.to/2ae3gkQ
Canon 18-135 STM lens → https://amzn.to/2eMf6Gs
Canon 10-18 wide angle STM lens → https://amzn.to/2eMcF6C
iPhone 6/6s wide angle/telephoto lenses → https://amzn.to/2eMfvIM
Shotgun mic → https://amzn.to/2ae3pVB
Windscreen → https://amzn.to/2ae4VGW
Tripod → https://amzn.to/2ae3Zmg
Monopod → https://amzn.to/2ae3sAN
Lighting kit → https://amzn.to/2dZW0fz
3-axis motorized gimbal → https://amzn.to/2dEIFs3
—————————————————————————————————————-
—————————————————————————————————————-
RV INFO:
NAME: HaRVey Dent
STYLE: Class C motorhome
YEAR: 1989
MODEL: Yellowstone Camino Classic
LENGTH: 28ft + Hitch and scooter
WEIGHT: 10,000 lb (approx.)
CHASSIS: Ford Econoline Club Wagon (e350)
ENGINE: Ford 460 7.5L V8 engine
ODOMETER: 47,000
MPG: 6.5 (on average)
—————————————————————————————————————-
—————————————————————————————————————-
MUSICAL CREDITS:
Track 1: Blank [NCS Release] by Disfigure
Follow Disfigure:
https://www.youtube.com/user/DisfigureMusic
https://soundcloud.com/disfigureofficial
https://www.youtube.com/user/DisfigureMusic


