18 Years Factory Siway two component strength-basded ceramic tile sealant to Florida Manufacturers
Short Description:
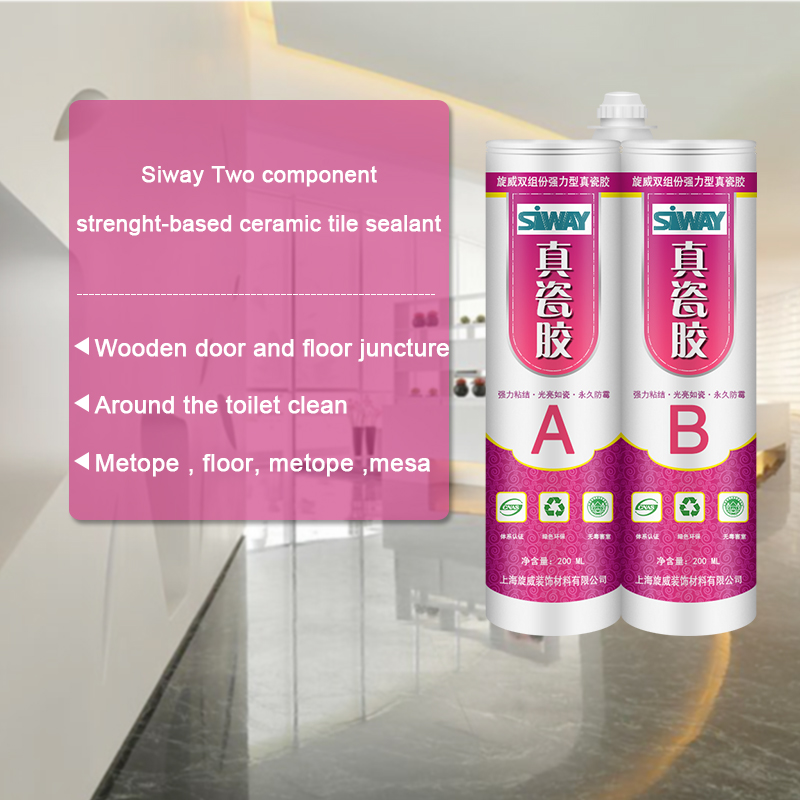
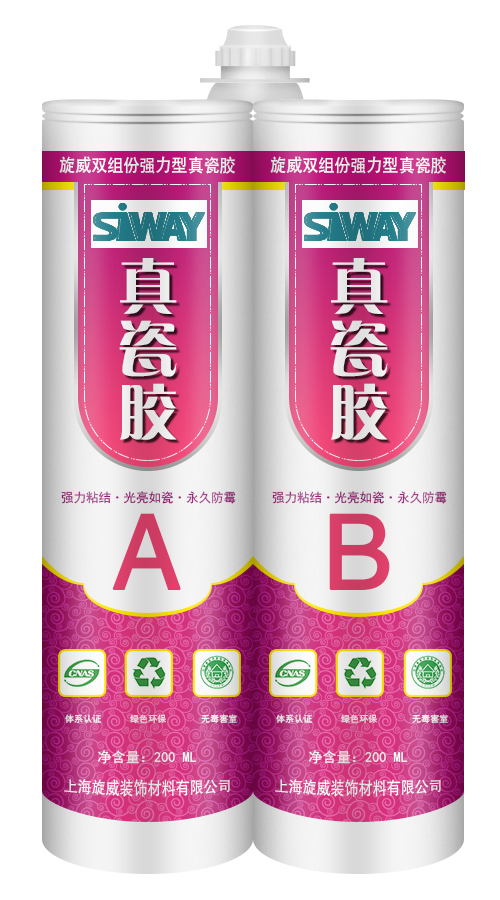
Product introduction Siway two component strength-basded ceramic tile sealant is an upgraded version of epoxy common beauty gap sealant, excellent toughness and impact resistance, surface brightness, such as porcelain, efficient, durable antibacterial mouldproof, waterproof sealing, 100% do not flow, construction simple, harmful index is far lower than the standard “GB18583-2008″ interior decoration, etc. Is widely used in high-grade kitchen, sanitary ware, high-grade family is de...
We rely upon strategic thinking, constant modernisation in all segments, technological advances and of course upon our employees that directly participate in our success for 18 Years Factory Siway two component strength-basded ceramic tile sealant to Florida Manufacturers, We are glad that we are steadily growing with the active and long term support of our satisfied customers !
Product introduction
Siway two component strength-basded ceramic tile sealant is an upgraded version of epoxy common beauty gap sealant, excellent toughness and impact resistance, surface brightness, such as porcelain, efficient, durable antibacterial mouldproof, waterproof sealing, 100% do not flow, construction simple, harmful index is far lower than the standard “GB18583-2008″ interior decoration, etc. Is widely used in high-grade kitchen, sanitary ware, high-grade family is decorated in joint seal and hotel decoration,, without excitant or unpleasant smell, in use process to bring you new construction concept and aesthetic effect.
Note: the position of construction
1, metope and floor, metope and mesa, and side beams and floor juncture
2, square face plate around the seams with mesa
Around 3, round face and mesa juncture, circular beams and floor juncture
4, around the toilet clean and floor juncture
5, wooden door and floor juncture
In 6, the tub edge or metope seams with mesa
Scope of application
1, window, furniture and so on, all kinds of counter aperture, cabinets, all kinds of edges, kitchen toilet all kinds of edges, can also be used to paste all kinds of hard materials.
In 2, the guesthouse, hotel, family bath crock, implement, sink, shower room and xiancai basins of installation, waterproof, plugging and other kitchen ware and decorative processing.
Method of use
1, clean the construction surface, remove dirt, oil and other impurities, then along the hem the ceramic tile with crepe paper.
2, mount rubber mouth, combined with glue gun, glue mouth mouth before the glue to glue on the glue, the glue liquid located in cement mix, edging out front a small amount of adhesive solution, in order to avoid mixed uneven, lead to not curable, and then into the ceramic tile aperture.
3, scrape to evenness with blade, slight trim the edges.
4, this product operation time 30 minutes, 4-6 hours at 25 ℃ room temperature curing, 24 hours of maximum intensity.
***VISIT OUR SPONSORS***
https://www.traderadiators.com | https://www.grahamplumbersmerchant.co.uk | https://www.buteline.com/uk | https://www.adey.com
***WEBSITE***
https://www.plumberparts.co.uk
***Facebook***
https://www.facebook.com/profile.php?id=100001119410854
***Twitter***
https://twitter.com/#!/plumberparts
This video will tell you how to install a washing machine waste. From drilling a massive hole through the wall to glueing up the PVC solvent weld fitting and creating a water tight seal.
Please subscribe and favourite!
Hold tight, and welcome to today’s plumberparts.co.uk video. I suppose you’re here to disrupt this peaceful time I’ve having in my deck chair. So I can show you how to cut a hole in the wall and install, very successfully, the waste for your washing machine or dishwasher. Let’s go. Hold tight!
Right, so this is the washing machine that we’re all about. There’s waste here, a little bit of water in it. The first thing we do is mark up the situation so we know roughly where we’re gonna put our hole out of the wall. Let’s have a go at that now. Right, so we’re going to look at something, something like that, so our waste can go in at the top, nice and tight, lovely, like that. So, we’re going to be looking to drill a hole somewhere here. So I mark that with a pencil Right, this hole here is just under a window that’s up there. So, what I want to do quickly is take a rough measurement to the bottom of the window, which is about 40 centimetres, and we’ll go outside and make sure that from the bottom of the window, the 40 centimetres, when it comes out, is going to give us an adequate drop down into our main waste, which it does here.
So now, we’re ready to drill our main hole, which generally is an inch and a half size. Now, you’re gonna need core bits for this sort of thing, and a big drill. This is the sort of stuff that only a plumber’s gonna do, really. You’re not gonna do this yourself. So if you’re ever replacing any of the pipe work or anything like that, and there’s already a hole here, just use this video as a quick guide to how to replace the pipe and maybe put a new trap and downpipe in. But for now, we’re gonna drill this hole and it’s gonna be absolutely epic. Right, beautiful, all ready to go! This is just amazing. Now, we’re ready to drill and it’s gonna be completely crazy.
Right, so when you start your hole try and get just a slight downward incline so the water runs out of here. Right, as soon as you get to your diamond bit turn your hammer off because the diamond is just a cutter, right, so that’s just gonna cut through what we’ve got left in there. Now, we know here that the wall depth is about 30 to 35 centimetres. If it was me, I’d cut off an extra 10 centimetres, okay, so you’ve got a good stub sticking out each side. You can cut it down later anyway, but if you have it too short, you’re not gonna get anywhere, are you? So, let’s just cut this piece now. Should measure that out, I’m gonna measure about 45 centimetres. We’ll just cut that like so. I’ve got to say, these cutters are quality, actually, rough and bow cutters. Look at that. So much quicker, and you get such a nice little wee cut here in this beauty.
Pop this through the wall, and now we can start thinking about doing a little bit of pipe work. Right, so I’ve cut a tiny, small stub as well, that’s gonna go in this elbow here. All we need to do is, what I’ve shown you in another video, how to use solvent with fittings. We just do that, place it here, cut our pipe and the solvent will glue. and get a tiny little bit to our stub in there, as well, like this. Now, sit there just like that. Right, so, these actual fittings here, they work in just a standard compression way. As you can see, inside we got a nut here, we got our little washer, and also our sealing washer, here, with a taper on it. So, we’ll tighten this up and put it on, as usual, and then we’ll be ready to drill the brackets that will hold this upright.
Right, now we’ve got that there, we just need to pull our washing machine out so we can slide in our little waste so it’s nice and out of the way. Right, so, now we can bring it all the way up to where we’re going to have it, get ourselves out the spirit level. Make sure it’s on straight, about there, Lovely. Take the spirit level directly up from that one, and just do the same again. This is so goddamn easy.
So, now we’ve got that in there like that. We can get our waste and pop it in the hole just up here like so, and then screw that waste as well, using this screw up here. This screw up here. Just screw that into that bit of wood and that will hold that nice and steady. Um, once you’ve done that, you’ve put the waste and everything, push your washing machine back. We’re pretty much done in this room, now. The only thing you can do later on is test for leaks.
We present Platinum Silicone Full Body Baby Pedro #2
HE IS ON EBAY !!!! (LINK BELOW)
********************************
FULL BODY SOLID SILICONE BABY PEDRO (2 of 10 Worldwide Limited Edition) RELISTED ON EBAY!!!
DON´T MISS THIS PRECIOUS BABY ♥ HE IS ADORABLE AND VERY SPECIAL! Ebay Link: https://www.ebay.co.uk/itm/Full-Body-solid-SILICONE-Baby-Pedro-by-Maria-Jordano-amp-Alejandro-Fedriani-IIORA-/181583494917?
He is so Special as he WON AN AWARD for “The best Silicone baby Doll” in Valencia Doll Show 2014.
Please, take a look to his auction to can see his awesome details, he is lifelike!!! No detail has been missed!!! Made to be loved and hugged ♥ ♥ ♥
He is a very LIMITED EDITION, only 10 babies WORLDWIDE.
(This is the second of the Limited Edition)
He was poured in high quality Platinum Silicone, is so soft and flexible as can see at the video. He has blue glass eyes and blonde Premium Mohair (Delta Dawn). The body was made in one unic piece with No Silicone Seams!!! We make all the steps so carefully to have the best results.
Pedro have jointed neck to let his head turn side to side.
This baby has all the inner mouth modeled with tongue, gums, …
All his anatomy is so detailed, was modeled from a piece of clay by us, like all our original silicone babies.
We hope you enjoy watchin this video!
Please, remember to visit his auction and enjoy it!
Hugs,
Maria Jordano & Alejandro Fedriani
www.ExclusiveSiliconeReborn.com
(Sculptors and Silicone Doll Artists)


