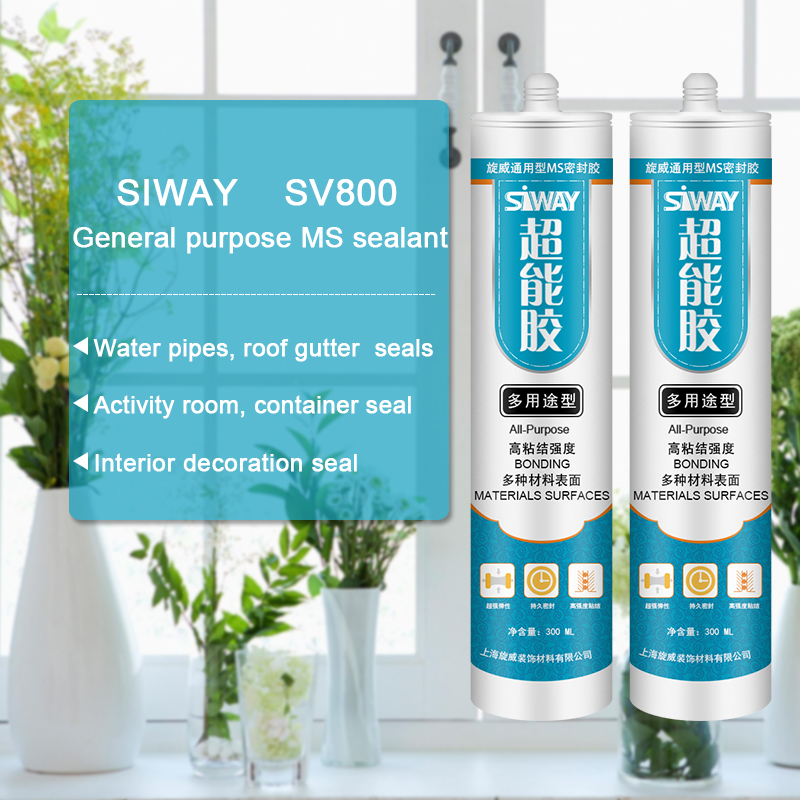
14 Years Factory SV-8000 PU Sealant for Insulating Glass for Puerto Rico Factories
Short Description:
Description SV – 8000 two-component polyurethane insulating glass sealant is a neutral cure, mainly used for the insulating glass of the second seal. Product formulation to use its performance with high modulus, high strength, to meet the requirements of insulating glass assembly. Where to use It is a two-component PU sealant that offers variable work life with high bonding strength to maintain the integrity of insulating glass unit, suits both commercial and residential IGU. Key Fe...
abide by the contract", conforms to the market requirement, joins in the market competition by its high quality as well as provides more comprehensive and excellent service for clients to let them become big winner. The pursue of the company, is the clients' satisfaction for 14 Years Factory SV-8000 PU Sealant for Insulating Glass for Puerto Rico Factories, With superb service and quality, and an enterprise of foreign trade featuring validity and competitiveness, that will be trusted and welcomed by its clients and creates happiness to its employees.
Description
SV – 8000 two-component polyurethane insulating glass sealant is a neutral cure, mainly used for the insulating glass of the second seal. Product formulation to use its performance with high modulus, high strength, to meet the requirements of insulating glass assembly.
Where to use
It is a two-component PU sealant that offers variable work life with high bonding strength to maintain the integrity of insulating glass unit, suits both commercial and residential IGU.
Key Features
1. High Modulus
2. UV resistance
3. Low vapor and gas transmission
4. Primerless adhesion to coated glass
Technical data sheet
| Test project | standards | Value |
| Sagging degree (mm) | ≤3 | 0 |
| Operating time | ≥30 | 30 |
| Thermal weight loss(%) | ≤10 | 2 |
| Durometer Hardness Shore A | 20-80 | 42 |
| tensile propcrties(MPA) | >0.4 | 1.0 |
| Bond damage area(5%) | ≤5 | 0 |
Certification
GB-24266-2009;
Color
Component A(Base) – White, Component B(Catalyst)- Black
Package
1. Component A(Base): (190L), Component B(Catalyst) (18.5L)
2. Component A(Base):24.5kg (18L), Component B(Catalyst): 1.9kg (1.8L)
Shelf life
12 months
Note
If you want the TDS or MSDS or other details, please contact with our sales person.
How to Attach Undermount Sink to Slab Using Silicone
Transcription:
Books here to show you how to glue undermount sinks to your vanity top? We use one of two glue we’re going to use a hundred percent silicone adhesive we typically stick to G brands available way home depot lowes or lock type. If you use the loctite specifically for marble and granite otherwise you risk it seeping through and staining stone you don’t need a lot of tools, we use these really basic clamps that we get from harbor freight like five dollars, a clamp caulk gun board and some cardboard. The most important thing when you are doing your vanity top is clean both top of the sink in the underside of the slab otherwise you’re going to dust. The most important thing is to clean really well use a rag to really clean up the underside, if you don’t clean it well things just not going to stick that’s the long and short of it, I also like to clean up a sink itself. We’re applying the glue all the dust off there right now.
That’s set I’ve got some silicone already charged up in the cold gun and I’m not just give it a fat bead around the perimeter so in the sink right now I’ve got one of these clans really basic lamps they slide up and down so I got they come apart I put one end of the inside the sink and then attach the other side. Now up here I’m going to put on some cardboard just in case we don’t scratch things up going to put a board right here and I’m going to lift up the sink and I’m going to clamp it down to the board. Now, I do some more minor adjustment here and at this point you want to square up the sink to make sure that the overhang is pretty even on all sides. Alright so we’ve got the sink straight now all the excess silicone that came out on the inside of the sink just scooped up with my finger and I put it back on the outside smoothed out the outside and really just make sure everything was nice and square had to move around the board a little bit wiped away as much access as I could whatever acts as they can’t wait a white boy with later with some acetone potentially. Sometimes a razor blade helps to clean up but as long as you take care of most of it when it’s still wet you’re not going to have any trouble.
All right so it’s been about two days since we glued this one, very important note as always follow the instructions on the bottle for how long the glue should set of this silicon said 24 hours for under some cure you wait at least 24 hours we try to wait a day and a half so we finish this saturday it’s now sunday and take it off and see how things went. All right sink looks pretty good to me nothing that flip it over so you can see what kind of smear it across here and let’s do a little strength test on the silicon this is probably a 40-pound slab that thing’s going nowhere there forever unless you take a knife and cut this off. So that’s the good thing about silicon is that if you were to screw the side somehow you can always just try again by grabbing a knife when cutting off the silicon whereas you can’t do that with the liquid nails are locked a products.
www.bathandgranite.com
For more information or a written out step by step you can stop by https://www.thediyguy.net/2014/04/how-to-replace-a-kitchen-sink-strainer/ . A video on how to replace a kitchen sink strainer / basket.


