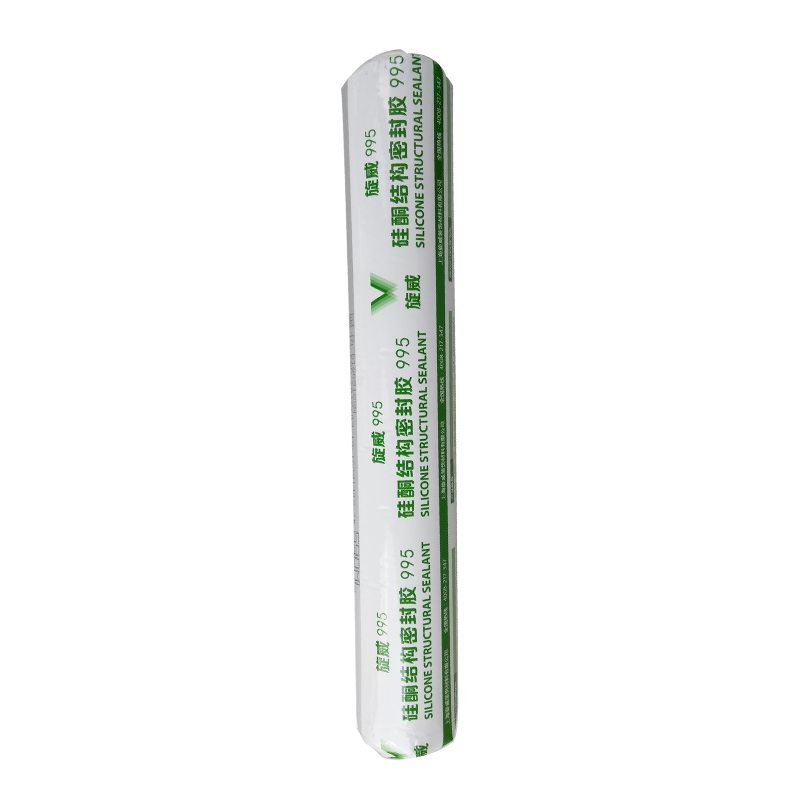
12 Years manufacturer SV-995 Neutral Silicone Sealant for Jakarta Importers

Short Description:
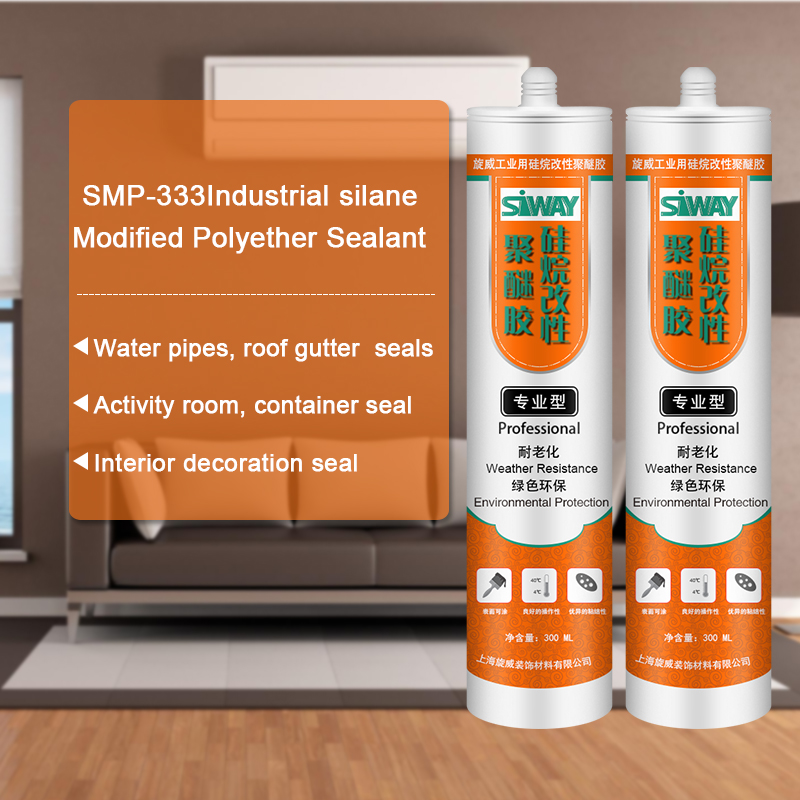
Description SV – 995 neutral silicone sealant structure is a kind of one-component, construction curtain wall structure of room temperature curing glue, can be used in all kinds of curtain wall joints and waterproof seal, also can be used for all kinds of aluminum alloy, glass doors and Windows seal assembly Where to use 1.Curtain wall joints and waterproof seal 2.Aluminum alloy, glass doors and Windows seal assembly Key Features 1. 100% silicone 2. Easy to use 3. Waterproofing and...
We support our buyers with ideal high quality products and high level service. Becoming the specialist manufacturer in this sector, we have gained rich practical experience in producing and managing for 12 Years manufacturer SV-995 Neutral Silicone Sealant for Jakarta Importers, "Create Values,Serving Customer!" is the aim we pursue. We sincerely hope that all customers will establish long term and mutually beneficial cooperation with us.If you wish to get more details about our company, Please contact with us now
Description
SV – 995 neutral silicone sealant structure is a kind of one-component, construction curtain wall structure of room temperature curing glue, can be used in all kinds of curtain wall joints and waterproof seal, also can be used for all kinds of aluminum alloy, glass doors and Windows seal assembly
Where to use
1.Curtain wall joints and waterproof seal
2.Aluminum alloy, glass doors and Windows seal assembly
Key Features
1. 100% silicone
2. Easy to use
3. Waterproofing and weatherproofing
4. Fast curing speed, high strength
5. 12.5% movement capability
Technical data sheet
| Test standard | Test project | Unit | value |
| Before curing——25℃,50%R.H. | |||
| GB13477 | Flow, sagging or vertical flow | mm | 0 |
| GB13477 | surface drying time(25℃,50%R.H.) | min | 30 |
|
GB13477 |
Operating time | min | 20 |
| Curing time(25℃,50%R.H.) | Day | 7-14 | |
| Sealant curing speed and operating time will have different with different temperatures and temperature, high temperature and high humidity can make sealant curing speed faster, rather low temperature and low humidity are slower.21 days after curing——25℃,50%R.H. | |||
| GB13477 | Durometer Hardness | Shore A | 40 |
| GB13477 | The ultimate tensile strength | Mpa | 0.8 |
| GB13477 | Movement capability | % | 12.5 |
Color
Black,White,Gray
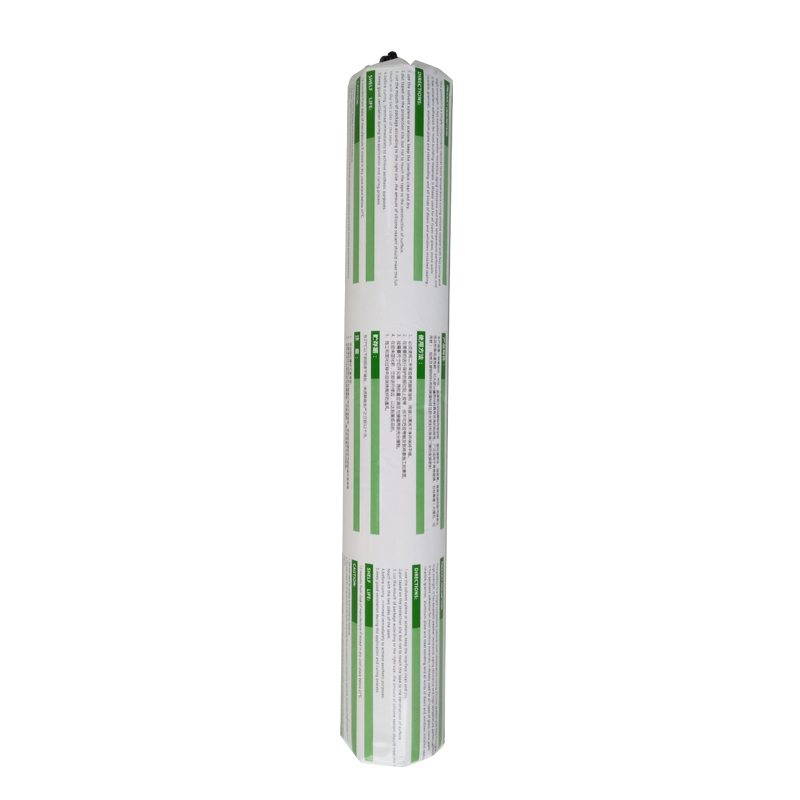
Package
300ml in cartridge * 24 per box, 590ml in sausage *20 per box
Shelf life
12 months
Note
If you want the TDS or MSDS or other details, please contact with our sales person.
Product page: https://mishimo.to/1So7wRp
Facebook: https://www.facebook.com/GoMishimoto
Twitter: https://www.Twitter.com/Mishimoto
Instagram: https://www.Instagram.com/Mishimoto
Mishimoto radiator hose kits are made with a dual layer combining high grade silicone and heat-resistant embedded fibers to provide efficient heat reduction and increased pressure tolerance, all with an OEM replacement fit. Perfect for replacing your OEM BMW rubber hoses.
Model Number: MMHOSE-E36-92
Mishimoto Silicone Hose Kit Install Guide
PARTS LIST
(2) Mishimoto Silicone Radiator Hoses
TOOLS NEEDED
Flathead Screwdriver
Coolant Funnel
Coolant Drain Pan
Coolant
Jack & Jack Stands
Ratchet 8mm Socket
Disclaimer
• Please dispose of any liquids properly.
• Allow vehicle to cool completely prior to attempting installation.
• Mishimoto Performance (MP) is not responsible for any vehicle
damage or personal injury due to installation errors, misuse,
or removal of MP products.
• MP always suggests that a trained professional install all
MP products.
• Do not run the engine or drive the vehicle while overheating.
Serious damage may occur.
• Raise vehicle only on jack stands or on a vehicle lift.
INSTALLATION INSTRUCTIONS
( 1 ) REMOVING THE OEM RADIATOR HOSES
1. Using a jack securely support the vehicle on jack stands or use a vehicle lift. Disconnect the negative terminal from the battery. (Located in the trunk).
2. Use your flathead screwdriver to loosen the coolant bleed screw, located directly next to the coolant filler neck.
3. Use your flathead screwdriver to remove the coolant drain plug located beneath the radiator under the vehicle, Drain all coolant from the vehicle using a drain pan to catch all used coolant.
4. Remove the front intake duct using your ratchet to remove the four 8mm bolts securing it.
5. Remove the alternator duct by using your flathead screwdriver to loosen the hose clamps securing it.
6. Remove the upper radiator hose, again using your flathead screwdriver to loosen the hose clamps securing it.
7. Remove the lower radiator hose. It is possible to do this from inside the engine bay. Using your flathead screwdriver, you will need to loosen the two hose clamps securing it. One is located on the lower side of the radiator, and the other on the front of the engine bay.
( 2 ) INSTALLATION OF THE MISHIMOTO SILICONE RADIATOR HOSES
1. Install the new Mishimoto upper radiator hose and secure it, reusing the OEM hose clamps.
2. Install the new Mishimoto lower radiator hose, utilizing the OEM hose clamps again. Sliding the clamps onto the hose prior to installation is recommended due to the tight spaces.
3. Reattach the front ait intake duct, securing it with the four 8mm bolts.
4. Reattach the alternator duct and tighten the hose clamp to secure it.
( 3 ) COOLANT REFILLING & INSTALL COMPLETION
1. It is now time to refill the vehicle with coolant. Screw the coolant drain plug back in if you have not done so already. Insert the funnel into the filler neck of the radiator and begin to pour 50/50 mix of coolant and distilled water.
2. Tighten the coolant bleed screw that you loosened earlier.
3. Reconnect the negative terminal on the battery and start the vehicle, making sure the vehicle is in neutral or park.
4. With the vehicle running, turn the heat on high. Monitor the temperature gauge to make sure the vehicle does not overheat.
5. Using a jack, raise the vehicle, remove the jack stands, and lower the vehicle or lower the on the lift you were using.
(Ron speaks quietly so as not to interrupt the other mechanics hard at work in this auto shop.) Hi! I’m Ron Krier from Ron’s Auto Glass. I’m replacing a windshield today from a 2005 Chevrolet Pickup. This was done before… About a year ago. And on this particular model, it was primed but they did not get all the rust spots, they did not get all the rust spots the knife got. What happens is that the metal rots out. Right away! This glass installation is only a year old, and you can see the rust coming in here, from not being primed all the way up. I put some knife marks in there too, as well, to show you the difference. But I will prime mine, where the previous glass installer didn’t prime theirs. That is the problem with doing auto glass and “cutting corners.” I want to let you know that I don’t “cut any corners.” I prime everything after it has been cut open, and before the glass is re-installed.
(Fade To Black)
(Ron speaks quietly again.) I just showed you before the scratches that were in this roofline of this 2005 Chevrolet Pickup Truck. I have now primed the area, all the way across the roofline because there were scratches from a previous glass installation. Now, I have primed the complete area that was covered with rust and scratches. It is now safe for the windshield to be installed into this vehicle. I use Sika Urethane and Glue. It works well together and I have zero problem recommending this product to any of my customers, when they need something fixed or done properly. Ron Krier from Ron’s Auto Glass. I’m looking out for your view.